Client Management SedonaDocs General Documents Function Buttons
Document Scanning may only be done if your company has purchased this add-on feature. Follow the steps below to Scan and add a document to the General Documents list.
Note: The scanning illustrations assume the User performing Scans has a scanning device installed at their workstation.
1. From the General Documents List, click the Scan button located at the lower right.
2. The SedonaScan interface will be displayed. If this is the first time a document is being scanned into SedonaDocs, you will need to select the device installed at your workstation.
a. From the SedonaScan form, click on the Setup button at the lower left of the form.
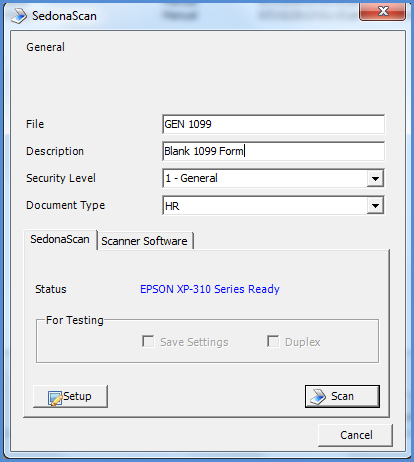
FRM2400
b. The Select Source form will be displayed. Click on the scanning device you will be using, then click on the Select button. Click on the ![]() in the upper right of the form to return to the SedonaScan form.
in the upper right of the form to return to the SedonaScan form.
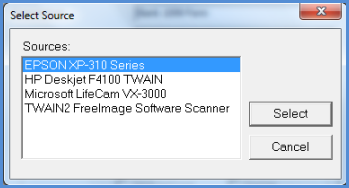
FRM2401
Back to General Documents Function Buttons
Page 1 of 3 Next Page