Accounts Payable Credits Vendor Credit from Part Return
Generate a Vendor Credit from a Parts Return (continued)
To generate a Vendor Credit from the return of a part, follow the instructions below.
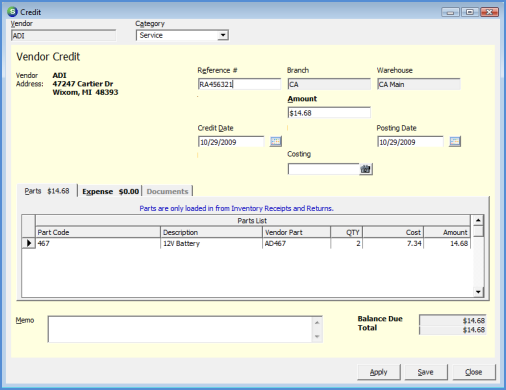
5. The Credit from will be displayed and populated with the part information from the Return record. If the unit cost is different from the amount automatically filled in, the User may modify the cost. If there are expense items such as shipping charges that are also being credited, navigate to the Expense tab and enter the appropriate information.
The Total field at the bottom of the Credit form keeps track of all amounts entered on the parts or expense tab; if changes are made to the part cost and/or expenses, the User must change the Amount in the header of the Credit form. The User will not be able to save the Credit if the Amount in the Header is not equal to the Total field.
6. If a document needs to be attached to the Vendor Credit, press the Apply button then navigate to the Documents tab and either scan in and attach a document or add an existing saved document. If no documents are being attached, proceed to step number 7.
7. Press the Save button when finished. The Vendor Credit is now posted to the Vendor account and is available for applying to Bills during the Pay Bills process.
6013.1